Update (9 Jan 2009): TiltShiftMaker gives your photos that delightful tilt-shift look (via Boing Boing). After some playing around, I think that the manual effect in Photoshop or Gimp gives better results.
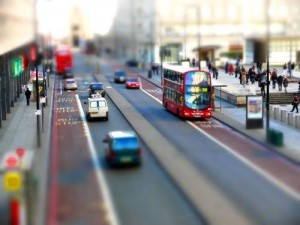
Couple of weeks back, I saw a sample video which had an impressive mix of time-lapse and tilt-shift effects. The tilt-shift technique allows to depict a very shallow depth of field. It creates an illusion of a miniature model. Here’s an example of a photo with tilt-shift (from 50 Amazing Examples of Tilt-Shift Photography):
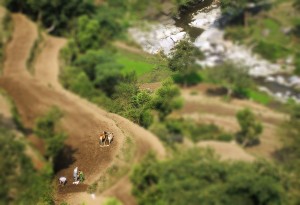
While its been raining out here today, I thought I’ll play around with tilt-shift faking in Gimp. Based on some nice tutorials ([1], [2]), here’s what I came up with a photo that I took on a trip to Dalhousie:
Btw, here’s the original photo for the photo I processed above. Not too bad eh? I guess this technique works best with aerial photos/videos.
Briefly, here’s what I did in Gimp to achieve the tilt-shift:
1. Play with the photo’s color curves, brightness and contrast
2. Activate Quick Mask
3. Reset colors in toolbox with the ‘d’ key (so that FG = black and BG = white)
4. Select Blend (Gradient) tool
5. Set Gradient to FG to BG (RGB)
6. Set Shape to Bi-linear
7. Think of a focal point in the photo (i.e. where the key subject is based)
8. Use the Blend tool from your focal point on the Quick Mask (you’ll have to play around with this a bit to get the right size/shape)
9. Deactivate Quick Mask (you’ll see the selection outline now)
10. Apply Gaussian Blur (or Focus Blur for an even better outcome)
11. Invert the selection
12. Sharpen (Enhance) the inverted selection
I’d like to try out this technique on a video sample as well, but for that I’ll need the right tools (or an expensive lens).

